Settings
Configure your Eranis HR account to match your organization's needs.
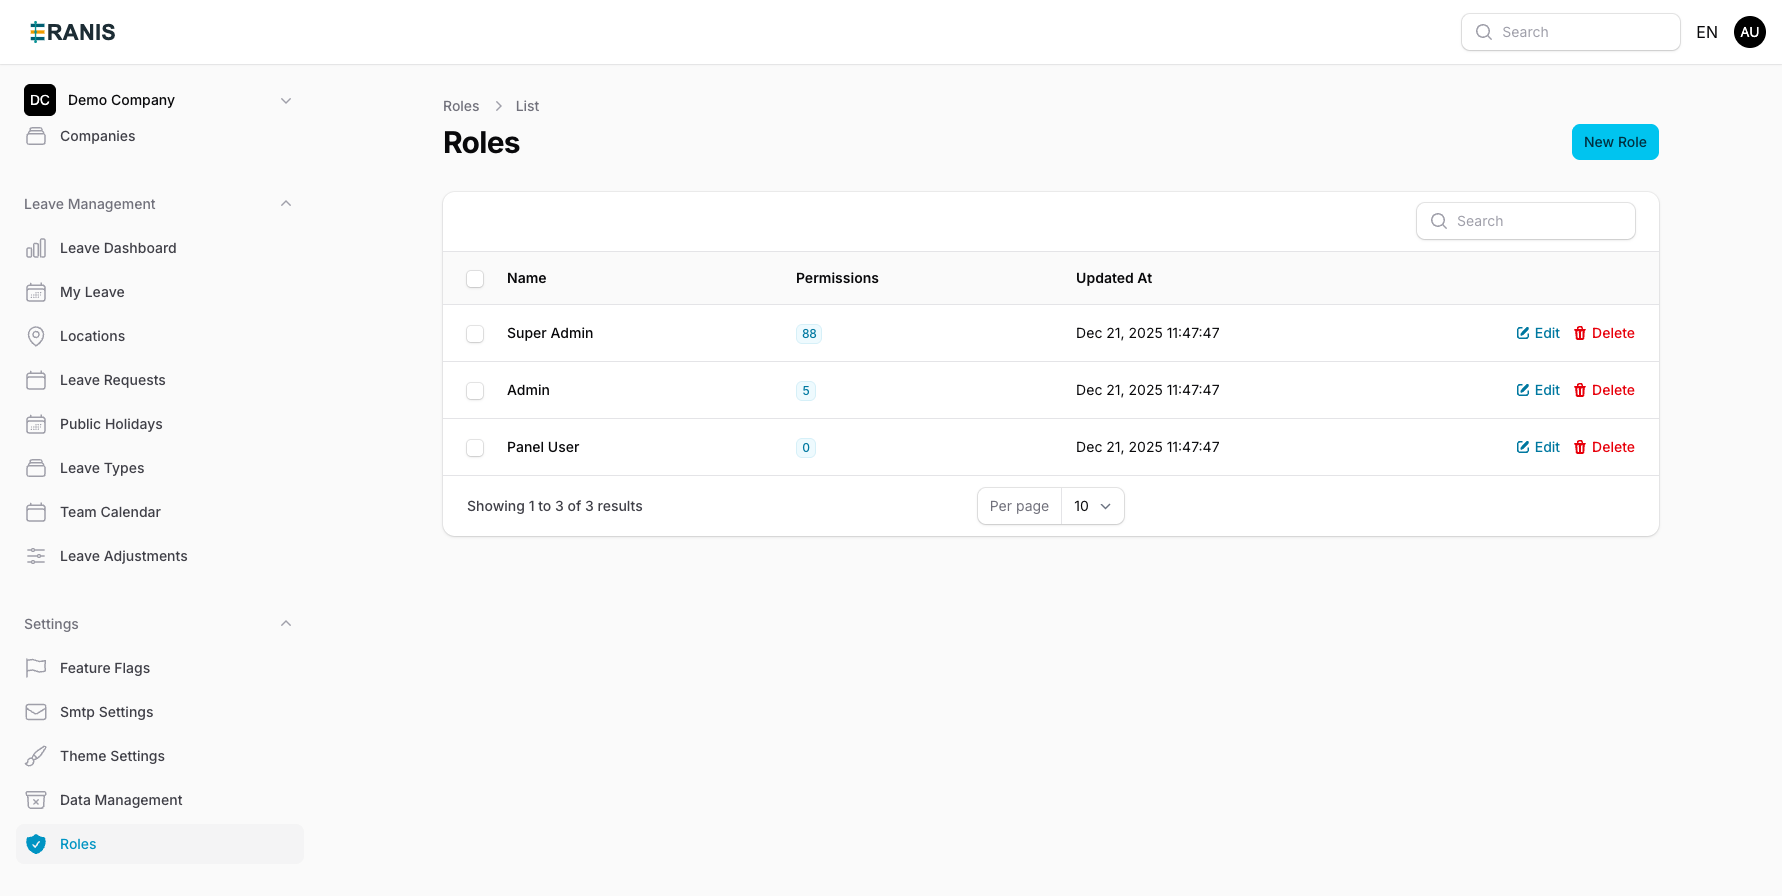 Define roles and permissions to control access to your HR data.
General Settings
Company Information
Update your company details:
- Go to Settings > General
- Edit the following:
- Company Name - Your organization's name
- Logo - Upload your company logo
- Website - Company website URL
- Industry - Your industry sector
- Save changes
Timezone & Locale
Configure regional settings:
- Default Timezone - Used for date/time display
- Date Format - Choose between DD/MM/YYYY, MM/DD/YYYY, etc.
- First Day of Week - Sunday or Monday
- Language - English, French, or Khmer
Email Settings (SMTP)
Configure outgoing email for notifications:
Setting Up SMTP
- Go to Settings > Email
- Enter your SMTP details:
- Host - SMTP server address
- Port - Usually 587 for TLS, 465 for SSL
- Username - SMTP username
- Password - SMTP password (encrypted)
- Encryption - TLS or SSL
- From Address - Sender email address
- From Name - Sender display name
- Save settings
- Click "Send Test Email" to verify
Common SMTP Configurations
| Provider | Host | Port | Encryption |
|---|---|---|---|
| Gmail | smtp.gmail.com | 587 | TLS |
| Office 365 | smtp.office365.com | 587 | TLS |
| Amazon SES | email-smtp.region.amazonaws.com | 587 | TLS |
| Mailgun | smtp.mailgun.org | 587 | TLS |
Note: For Gmail, you may need to use an App Password instead of your regular password.
Branding
Customize the look and feel of Eranis for your organization:
Theme Colors
- Primary Color - Main brand color
- Accent Color - Secondary color
- Logo - Company logo for the interface
Email Templates
Customize email notifications:
- Go to Settings > Email Templates
- Select a template to customize
- Edit the content using the visual editor
- Preview before saving
Available templates:
- Welcome email
- Leave request notification
- Leave approval/rejection
- Password reset
- Account invitation
Data Management
Removing Demo Data
If you started with demo data:
- Go to Settings > Data Management
- Click "Remove Demo Data"
- Confirm the action
- All demo employees and data will be removed
Warning: This action cannot be undone. Make sure you've backed up any data you need.
Resetting All Data
To completely reset your account:
- Go to Settings > Data Management
- Click "Reset All Data"
- Check the confirmation checkbox
- Enter "RESET" to confirm
- All employees, departments, and leave data will be permanently deleted
Critical: This permanently deletes all data. Only use this if you want to start completely fresh.
Security Settings
Password Policy
Configure password requirements:
- Minimum length (8-32 characters)
- Require uppercase letters
- Require numbers
- Require special characters
- Password expiration (optional)
Two-Factor Authentication
Enable 2FA for additional security:
- Go to Settings > Security
- Enable "Require 2FA for all users"
- Users will be prompted to set up 2FA on next login
Session Settings
- Session Timeout - How long before inactive users are logged out
- Remember Me Duration - How long the "remember me" option lasts
Notifications
Configure how users receive notifications:
Email Notifications
Toggle which events trigger email notifications:
- Leave request submitted
- Leave request approved/rejected
- Employee profile updated
- Upcoming leave reminders
- Weekly summaries
In-App Notifications
Configure the notification center:
- Enable/disable specific notification types
- Set notification retention period
Integrations
Connect Eranis with other tools:
Calendar Sync
Sync leave data with external calendars:
- Google Calendar
- Microsoft Outlook
- Apple Calendar
API Access
For custom integrations:
- Go to Settings > API
- Generate an API key
- Use the key in your integration
See the API Documentation for details.
Audit Log
View all changes made in your organization:
- Go to Settings > Audit Log
- Filter by:
- User
- Action type
- Date range
- Export for compliance purposes
The audit log tracks:
- Employee data changes
- Settings modifications
- Leave approvals/rejections
- User logins